
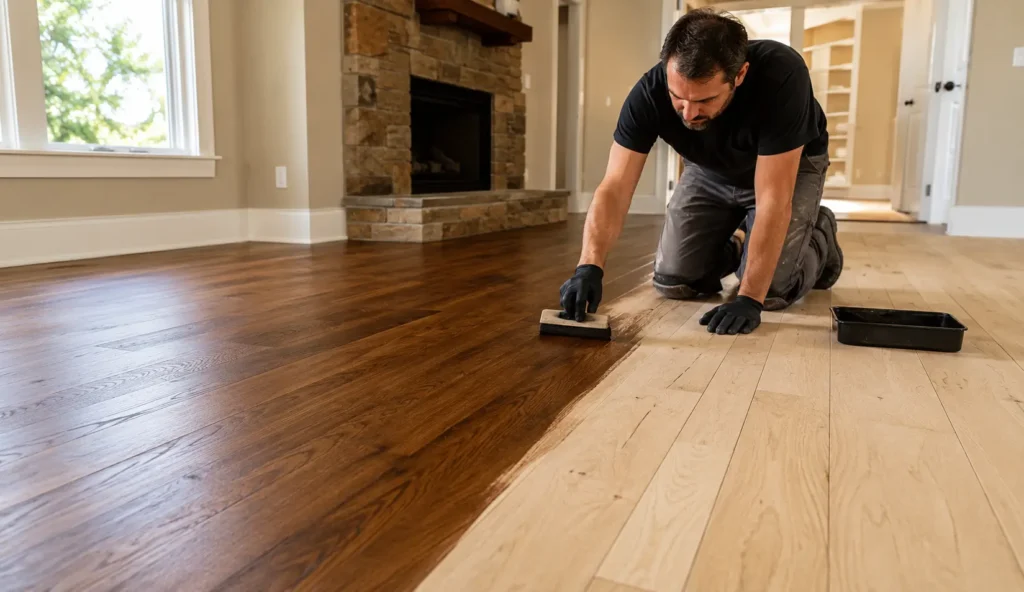
A Step-by-Step Guide to Staining a Wood Floor
Staining wood floors is a transformative process that can elevate the natural beauty of
your home, adding depth and a fresh, new look. Following the correct procedure is essential to achieve the best
finish if you plan to restore an old floor or create the look of brand-new flooring. Here is a step-by-step guide to
staining your wooden floor with the precision of a professional.
Step 1: Prepare the Room
Before beginning to stain your room, clean it of rugs and furniture. Remove any
baseboards you may need to aid in sanding and staining. Ensure you have adequate ventilation since staining
chemicals often release potent gases. Painter’s tape is a good way to protect the walls, door frames, and other
surfaces you do not wish to be stained.
Step 2: Sand the Floor
A proper sanding technique is vital to ensure that the stain is uniformly absorbed into
the wood.
1. Begin with coarse-grit sandpaper (40-60 grit) to eliminate scratches, old finishes and marks.
2. Gradually move to finer levels of grit (80-120 grit) for a smoother surface.
3. Utilise an orbital sander for large areas. You can also hand-sand corners or hard spots.
Vacuum thoroughly to get rid of dust. Then, wipe the floor with a tack cloth so that the floor is clean.
Step 3: Choose Your Stain
Select a wood stain that complements your style. Stains are available in a variety of
shades, ranging from light natural tones to deep dark finishes. Check the stain’s colour on a small, unnoticeable
portion or even a scrap of the wood you use to ensure you are satisfied with the shade.
Step 4: Apply the Stain
1. Tools required: Stain applicators, lint-free cloths, and a stain
pad.
2. Application: Mix the stain well before application. Spread it evenly along the direction of a
grain of wood.
3. Wipe excess: After 5 to 15 minutes (depending on your desired intensity), clean the stain using
a dry, clean cloth.
Do the work in small portions to prevent uneven drying or streaks. The stain should dry according to the
manufacturer’s instructions, usually within 24 to 48 hours.
Step 5: Seal the Floor
Staining by itself will not safeguard the wood. The application of a topcoat seals the
stain and improves its durability.
1. Choose a finish (matte, satin, or glossy) depending on your preferred style.
2. When choosing a sealant, opt for a water-based one. Water-based sealants are more environmentally friendly, have
a milder odour, and dry faster than oil-based ones, making them a popular choice for DIY projects. Apply the sealant
in thin, even coats. Use a roller or brush to ensure a smooth and consistent application. Avoid applying the sealant
too thickly, as this can lead to uneven drying and a less attractive finish. Once the first coat is dry, you can
lightly sand the surface with fine-grit sandpaper. Then, clean the dust before applying subsequent coats.
Most floors require a minimum of three coats to ensure optimal protection.
Step 6: Let the Floor Cure
Allow the floor to set entirely before bringing furniture back in. Curing times can
vary; however, most sealants need 72 hours of use for light usage or up to seven days in high traffic.
Tips for Success
• Remember, safety comes first in any DIY project. Always wear a mask, gloves, and
goggles when sanding or staining to protect yourself from harmful fumes and dust. Temperature Matters: Work in a
temperature-controlled environment for the best results.
• Once your floor is stained and sealed, it is essential to maintain it. Regular cleaning with a safe wood cleaner
will help protect the finish and keep your floor looking its best for years. Now you know how to stain a Wood Floor
Staining a wood floor is a rewarding DIY project that can significantly enhance your
living space. You can achieve an attractive, long-lasting finish by following these steps and exercising patience.
If you are unsure or want a perfect finish, consider hiring a professional for floor sanding or staining services. For more
advice and tips, please read our blog or call us for
assistance from a professional with your flooring requirements!


