Staircase restoration
Victorian and Georgian staircases tend to have many layers of paint which require removal, particularly from the treads and risers. The removal of this paint is part of the renovation process and carried out prior to sanding.
Typically, we strip, sand and seal treads and risers on Victorian staircases and lacquer finish like we would a floor.
We use electric heat guns to melt and blister the paint as the first stage of the process, followed by a liquid chemical stripper and various grades of wire wool and then sandpaper, from approximately P60 - P120 Grade.
Once the staircase is fully sanded, it is stained and/or finished with at least three coats of lacquer, key-sanding (denibbing) between each coat, the same process as with floors.
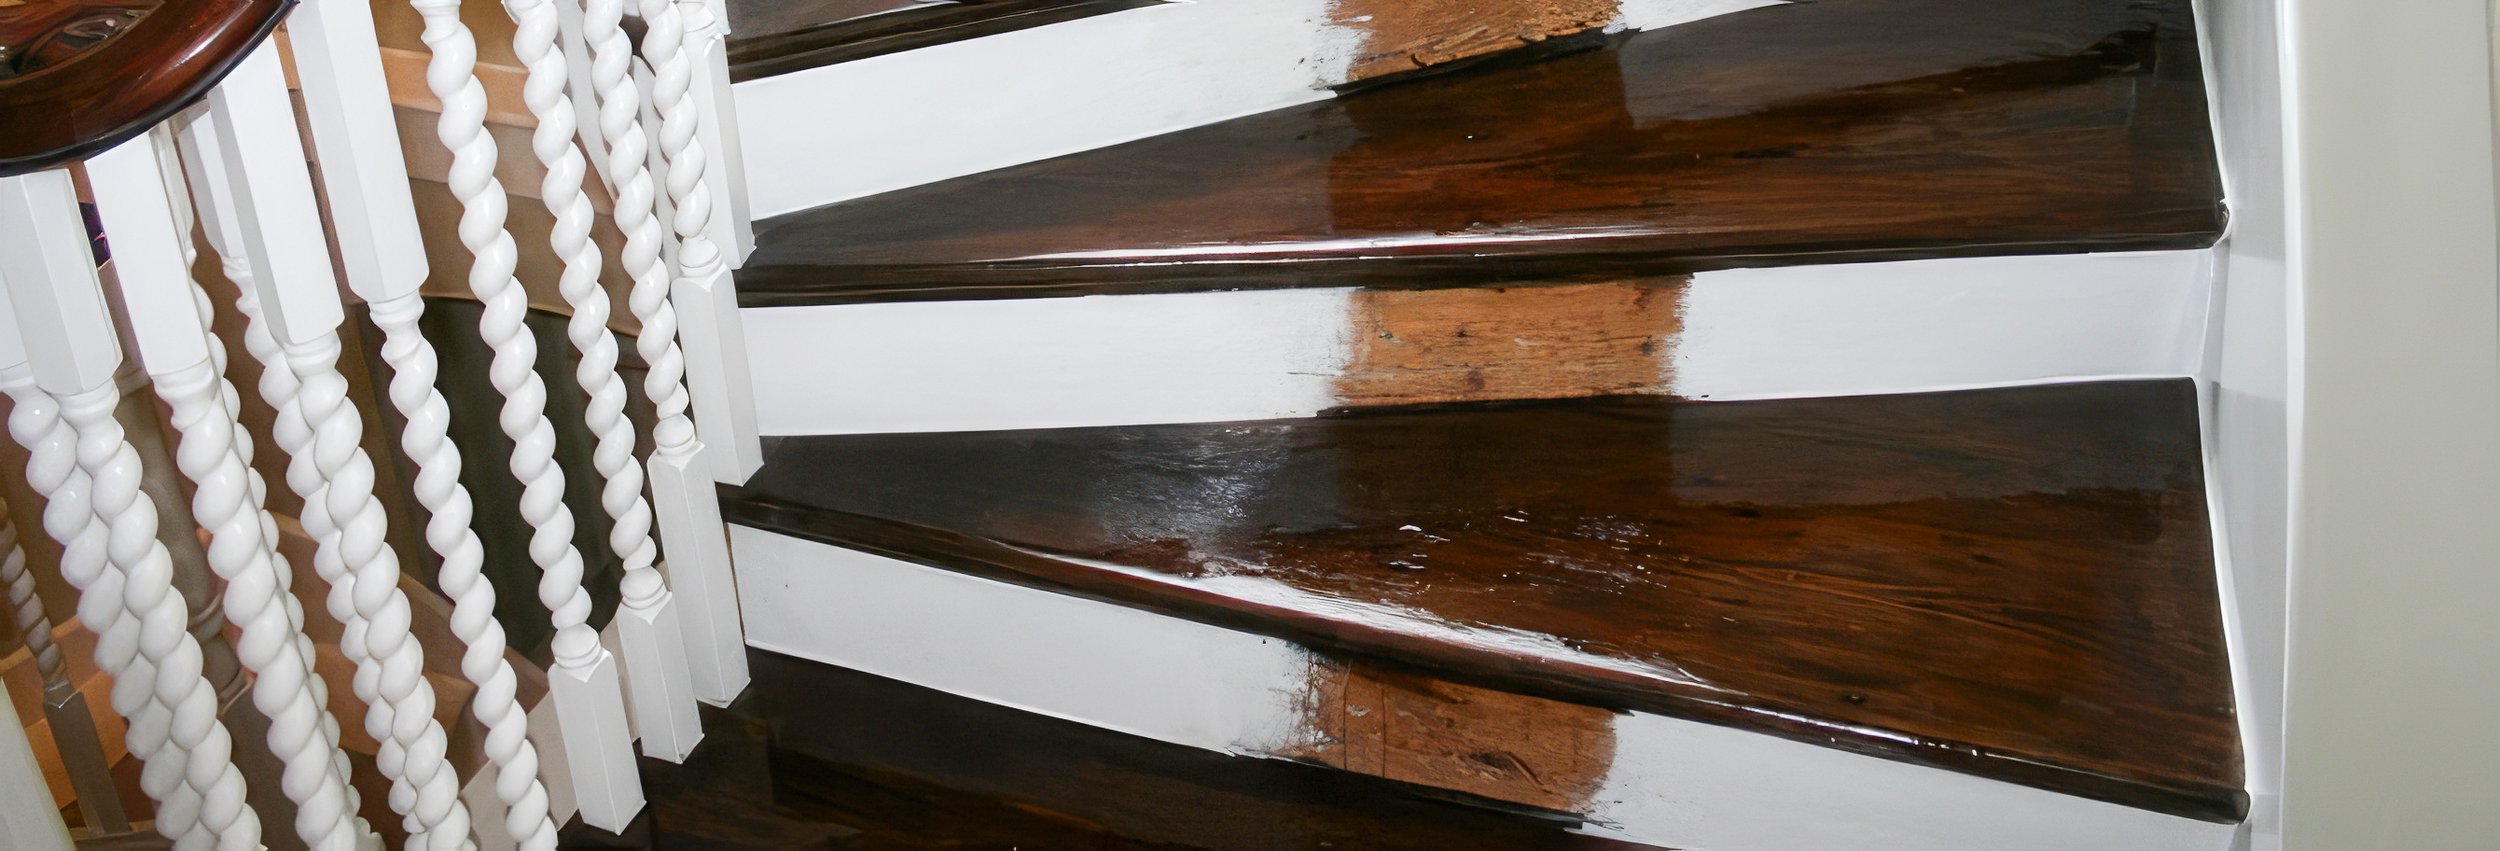
Another popular 'look' is sanded and lacquered treads combined with painted risers, with the skirting or 'stringer' of the staircase remaining painted..
The staircase can then either be left uncovered or have a traditional stair runner fitted.
You can do anything to a staircase, from the most sensitive period restoration to something totally contemporary such as stair risers with fibre optics or recessed LED lights. We can give you many ideas to work with, from the traditional to the most unconventional and bespoke.
Georgian staircase restoration
The sensitive restoration of a Georgian staircase in a period property in Hampstead, London.

1. 300 years of paint has to be burned off using heat guns. Carbon filter masks are essential while working and good ventilation is required as much of the older paint, particularly the primers, were lead-based.

4. Blotches of red lead paint used as knotting to prevent bleed through and discolouration of the paint

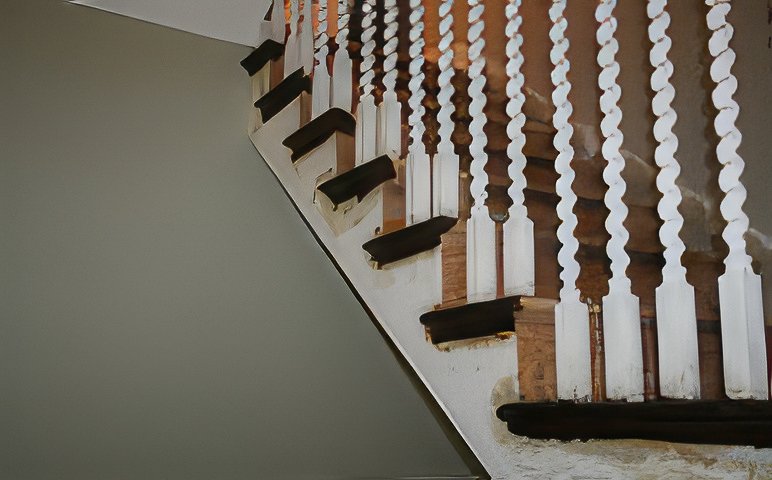
7. The stripping revealed where the original spindles had been anchored before being cut out at some point

10. Risers were to be painted white later.

2. The mahogany handrail was made from one piece of wood that would have been steamed and painstakingly bent into shape.

5. High and awkward to get to nosing required a tower scaffold.

8. Some of the scotia moulding was worn and damaged it needed remaking and forming from two component resin filler. Dark oak filler was used to match the final tone that the staircase was to be stained.

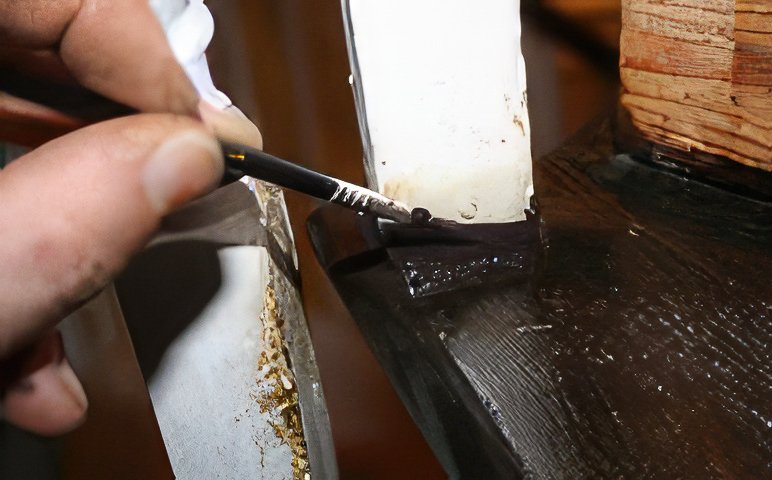
11. Burnt Umber acrylic up onto each spindle to give the decorator something to 'cut' down onto & define the line in white.

3. Some spindles had to be removed on the sharpest bend and on the final furl to allow us to actually get in and work.

6. After the heat gun, paint stripper and wire wool are used to clean and start to really bring the wood into focus.
9. The staining process begins with nosing and working inward.